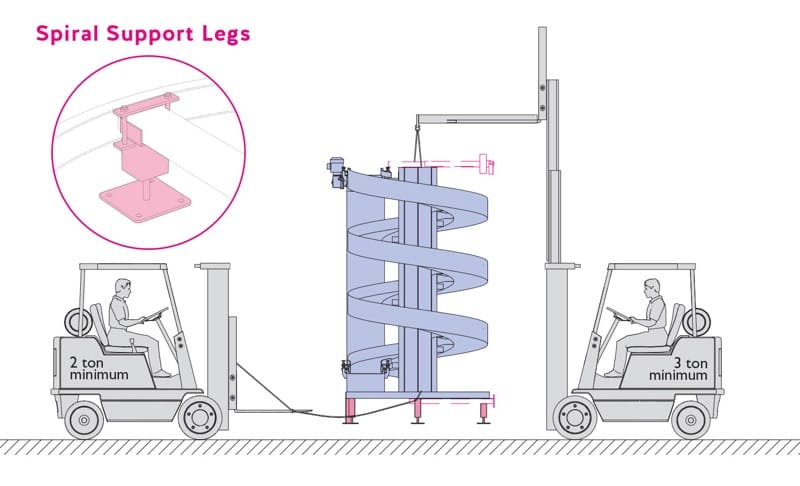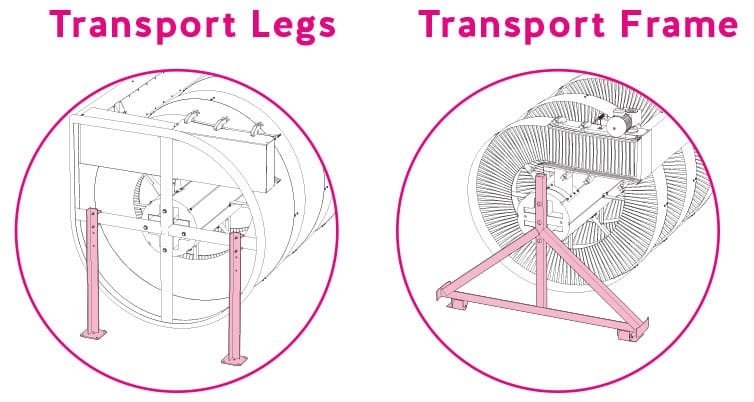
Most Ryson Spirals are shipped in one piece, pre-assembled and pre-tested, which can significantly reduce installation time and field labor. Some units ship with detached components for transportation purposes, especially models with extended infeed or outfeed tangents or diameters greater than 8 feet.
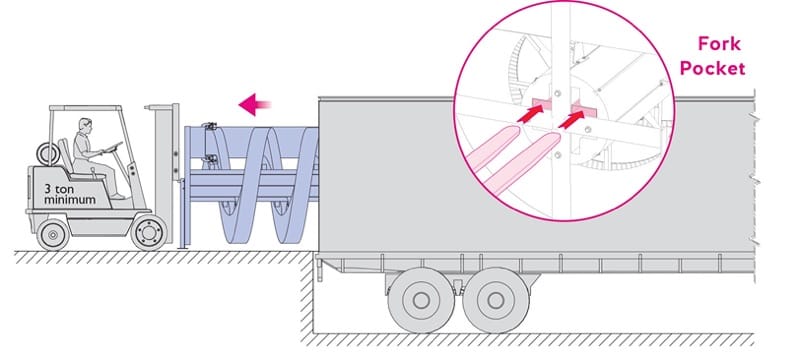
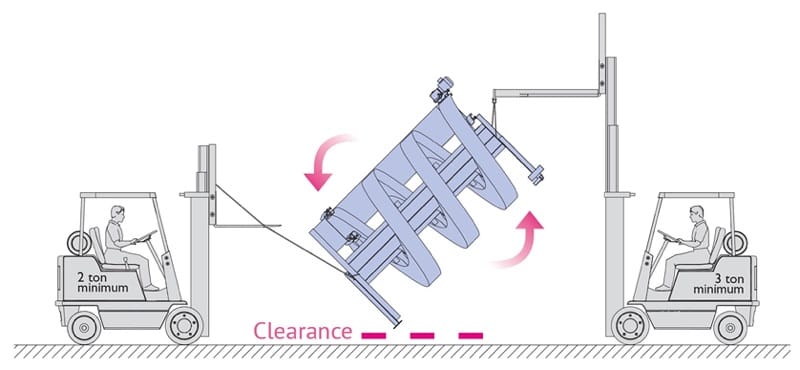
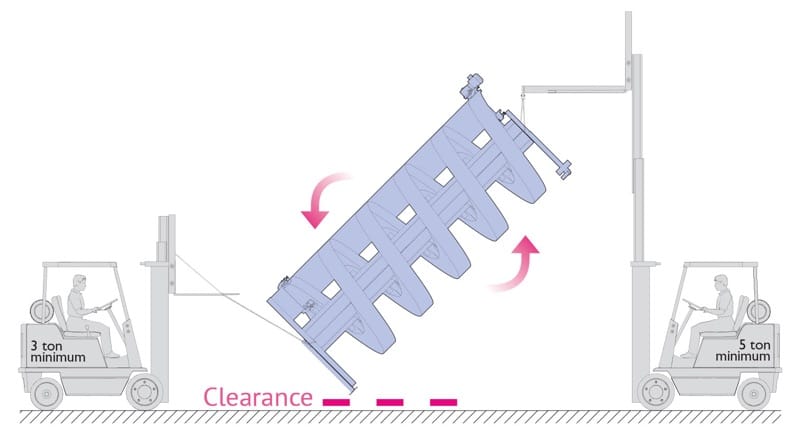
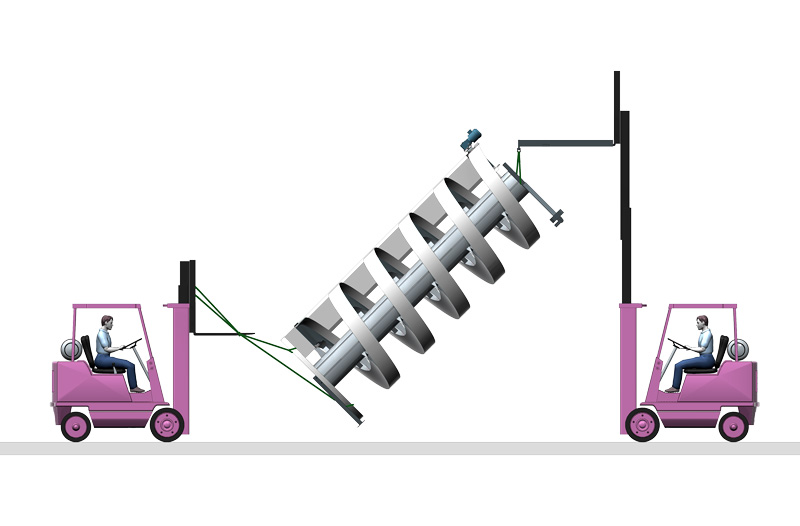
All spirals are shipped in an A-frame with casters to simplify unloading and movement to the installation area. Reinforced fork pockets in the center tube are provided for safe horizontal forklift handling, and the top end of the center tube is used for rigging when standing the spiral upright.